Share this Post
Twist Braid Tutorial- “Haute for the Holidays” Look 3
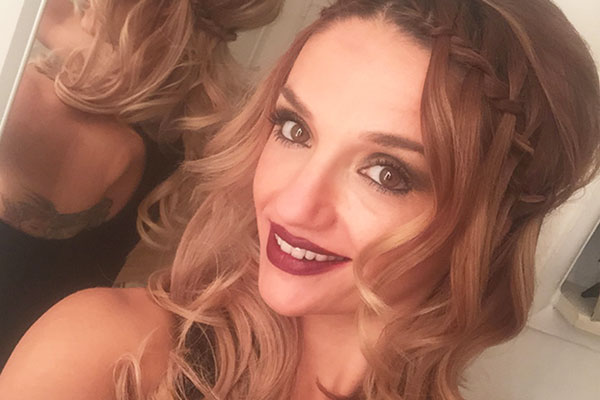
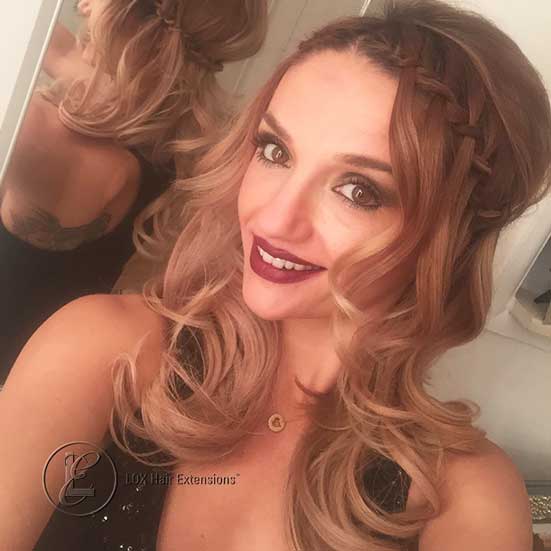
Welcome back to the third look, a twist braid tutorial, in our series “Haute for the Holidays” by LOX Hair Extensions. The Candy Cane Braid is fun and festive, and can also be described as a rope braid with a waterfall effect. Make sure to give yourself some extra time if you are not that familiar with braiding, I will do my best to get your fingers moving in the right direction with this hairstyle tutorial.
Candy Cane Braid
A braid that combines the twist, rope and waterfall.
How to create the Candy Cane Braid
To get started you’ll need to gather a few tools: Clip-In Hair Extensions, two bobby pins, a LOX Loop Brush, and your preferred styling products. At LOX, we love Kérastase professional products and all you need is a shiny hairspray like Laque Couture.
1. Use your LOX Loop Brush to remove any tangles.
2. Apply LOX Clip-In Hair Extensions. If you are wearing LOX Professional Hair Extensions, skip this step!
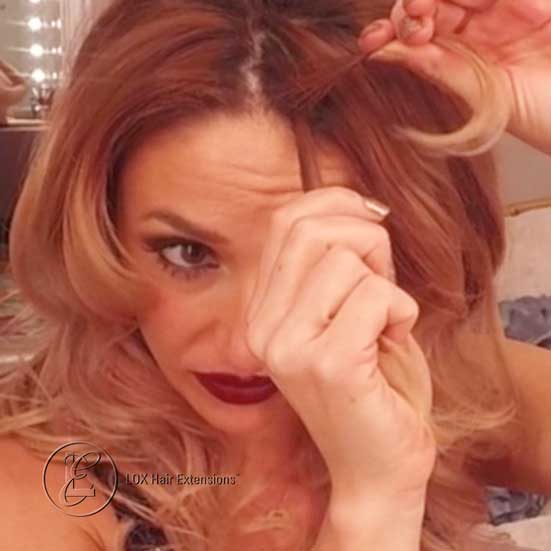
3. Part your hair, or let it naturally fall, and gently tease your hair above the extensions. Use circular motions for better control and manageability. Use hairspray to help smooth out the shape.
4. Begin the first side at the top of your head, along side the part and hairline. Gather a small section of hair, and divide it into two pieces. Twist the hair closest to your face (we will call this section outside) around the opposing section of hair (lets label this the inside piece). So you have two strands of hair, take the outside piece and wrap over the inside strand twice, so the outside section remains the outside strand of hair.
5. Add a small section of hair to the outside piece, to make it thicker and stable. Now gather another small section of hair from the inside about two inches away from your hairline. This piece will remain separate from the braid, and you will place it over the inside section, and under the outside section. Secure it with a LOX Clip on the opposite side of the part line so it’s out of your way.
6. Repeat this pattern as you work toward your ear. You may need to keep adding a little piece of hair to your original inside and outside section to maintain the thickness, depending on the density of your natural hair. You will never add hair from the inside section, this strand of hair is what makes the waterfall effect.
7. You can stop adding hair when you reach the ear, and continue twisting the hair until it reaches just beyond the center back of your head. Use a bobby pin to secure by placing the entire twist in the center of the pin, and pushing it back toward the direction the strand originated. Repeat on the opposite side, and detail the entire style using hair spray.


Braids are not a fad or a trend, they are here to stay. Every season they get more intricate, and its one of the most requested styles I get in the salon. The twist braid is advanced so don’t give up, take it a step at a time, or try it out on someone else to get your fingers moving and understand the pattern. Thank you for joining, and we will see you back tomorrow for another tutorial!
You inspire us, please be sure to #loxextensions and share your amazing transformations. For inspiration, visit LOX hair extensions before and after gallery on our Facebook Page! We welcome you to be part of the LOX Extensions family, join us!
Share this Post